

Built the tool I wanted during two full house remodels.
Most contractor calls are unnecessary.
That $400 visit is usually a 45-minute fix. You Fixed It asks the follow-up questions a contractor would ask, then gives you the plan for your exact repair.
First one is free.
Get guidance in:
Try: "My kitchen faucet is dripping"
Bathroom Outlet Replacement
This repair plan details the safe removal and replacement of a standard 120V bathroom electrical outlet, ensuring compliance with NEC GFCI requirements and proper grounding. The process includes troubleshooting for GFCI tripping, safe power-off procedures, voltage verification, correct wiring practices, and code-compliant installation of a new GFCI outlet.
Save $120-200 — that's what a pro would charge for this repair.
Initial Troubleshooting and GFCI Reset
If the outlet is not working, press the TEST and then RESET buttons on all GFCI outlets in the bathroom and adjacent areas. Plug in a lamp or device to check if power is restored. If not, proceed to replacement.
GFCI outlets often protect multiple downstream outlets—reset all in the area.
If the outlet works after reset, no replacement is needed.
Do not proceed with replacement if a simple GFCI reset restores power.
Turn Off Power at Breaker Panel
Locate the correct circuit breaker for the bathroom outlet (check panel labels or test by toggling breakers). Switch the breaker OFF. Place a warning label or tape over the breaker to prevent accidental re-energizing.
Plug a lamp or outlet tester into the outlet before switching breakers to confirm when power is off.
Never rely on memory—always verify power is off before working.
Verify Power is Off
Use a non-contact voltage tester to check for voltage at the outlet face. Remove the wall plate and use a Wiggy/solenoid tester to confirm all wires are de-energized before touching.
Test your voltage tester on a known live outlet first to ensure it's working.
Never assume power is off—always test before touching wires.
Remove Existing Outlet
Unscrew and remove the wall plate. Unscrew the outlet mounting screws. Gently pull the outlet from the box, noting wire locations (take a photo for reference). Loosen terminal screws and disconnect wires.
Label wires or take a clear photo to aid reinstallation.
If wires are backstabbed (pushed into holes), use the release slot or cut and strip fresh wire ends.
Inspect Wiring and Box
Check for damaged insulation, loose wires, or corrosion. Ensure the box is securely mounted and large enough for the wires and new GFCI outlet (minimum 18 cu. in. for 2 wires + ground per NEC 314.16).
If box is metal, ensure a ground screw is present and securely attached.
Do not proceed if you see aluminum wiring (dull gray)—consult a licensed electrician.
Wire the New GFCI Outlet
Connect the black (hot) wire to the GFCI LINE brass terminal, white (neutral) to LINE silver terminal, and bare/green ground to the green screw. If there are additional wires for downstream outlets, connect them to the LOAD terminals as labeled. Use wire nuts and electrical tape as needed for secure splices.
Tug each wire gently to ensure a solid connection.
Wrap electrical tape around the outlet body to cover terminal screws for added safety.
Do not reverse LINE and LOAD connections—GFCI will not protect downstream outlets if wired incorrectly.
Mount Outlet and Install Wall Plate
Carefully fold wires back into the box. Secure the outlet with mounting screws. Install the new wall plate. Ensure the outlet is flush with the wall and the plate is not overtightened.
Use spacers if the outlet is recessed too far in the box.
Do not pinch wires when reinstalling the outlet.
Restore Power and Test
Turn the breaker ON. Press the TEST and RESET buttons on the new GFCI outlet to verify proper operation. Plug in a lamp or outlet tester to confirm correct wiring (indicator lights should show correct wiring per tester instructions).
Test downstream outlets for power and GFCI protection if applicable.
If the outlet does not reset or test properly, turn off power and recheck wiring.
How It Works
From problem to solution. You Fixed It guides you through every repair in minutes.
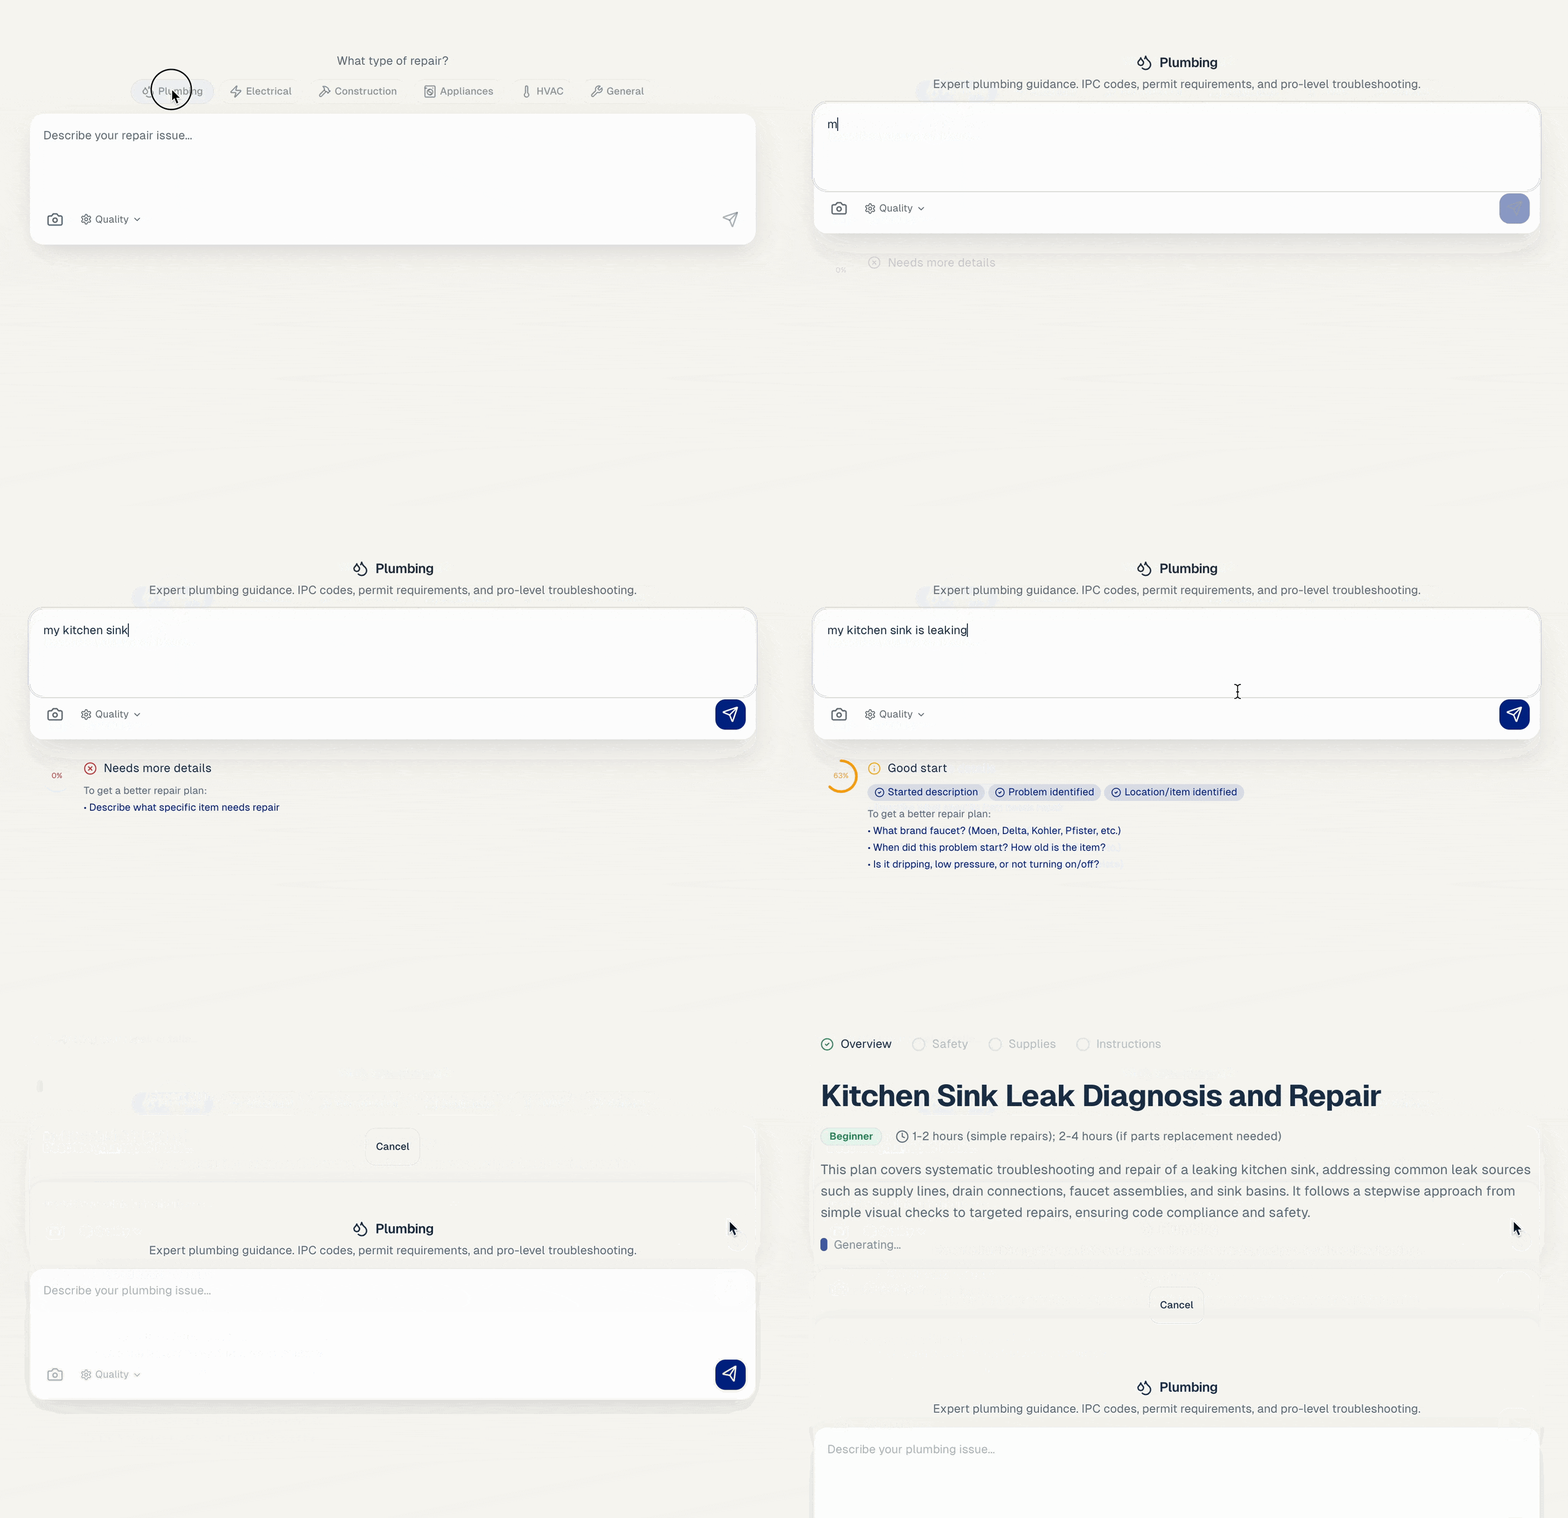
Describe Your Project
Choose your repair category and explain what you want to fix with a quick description and/or a photo.
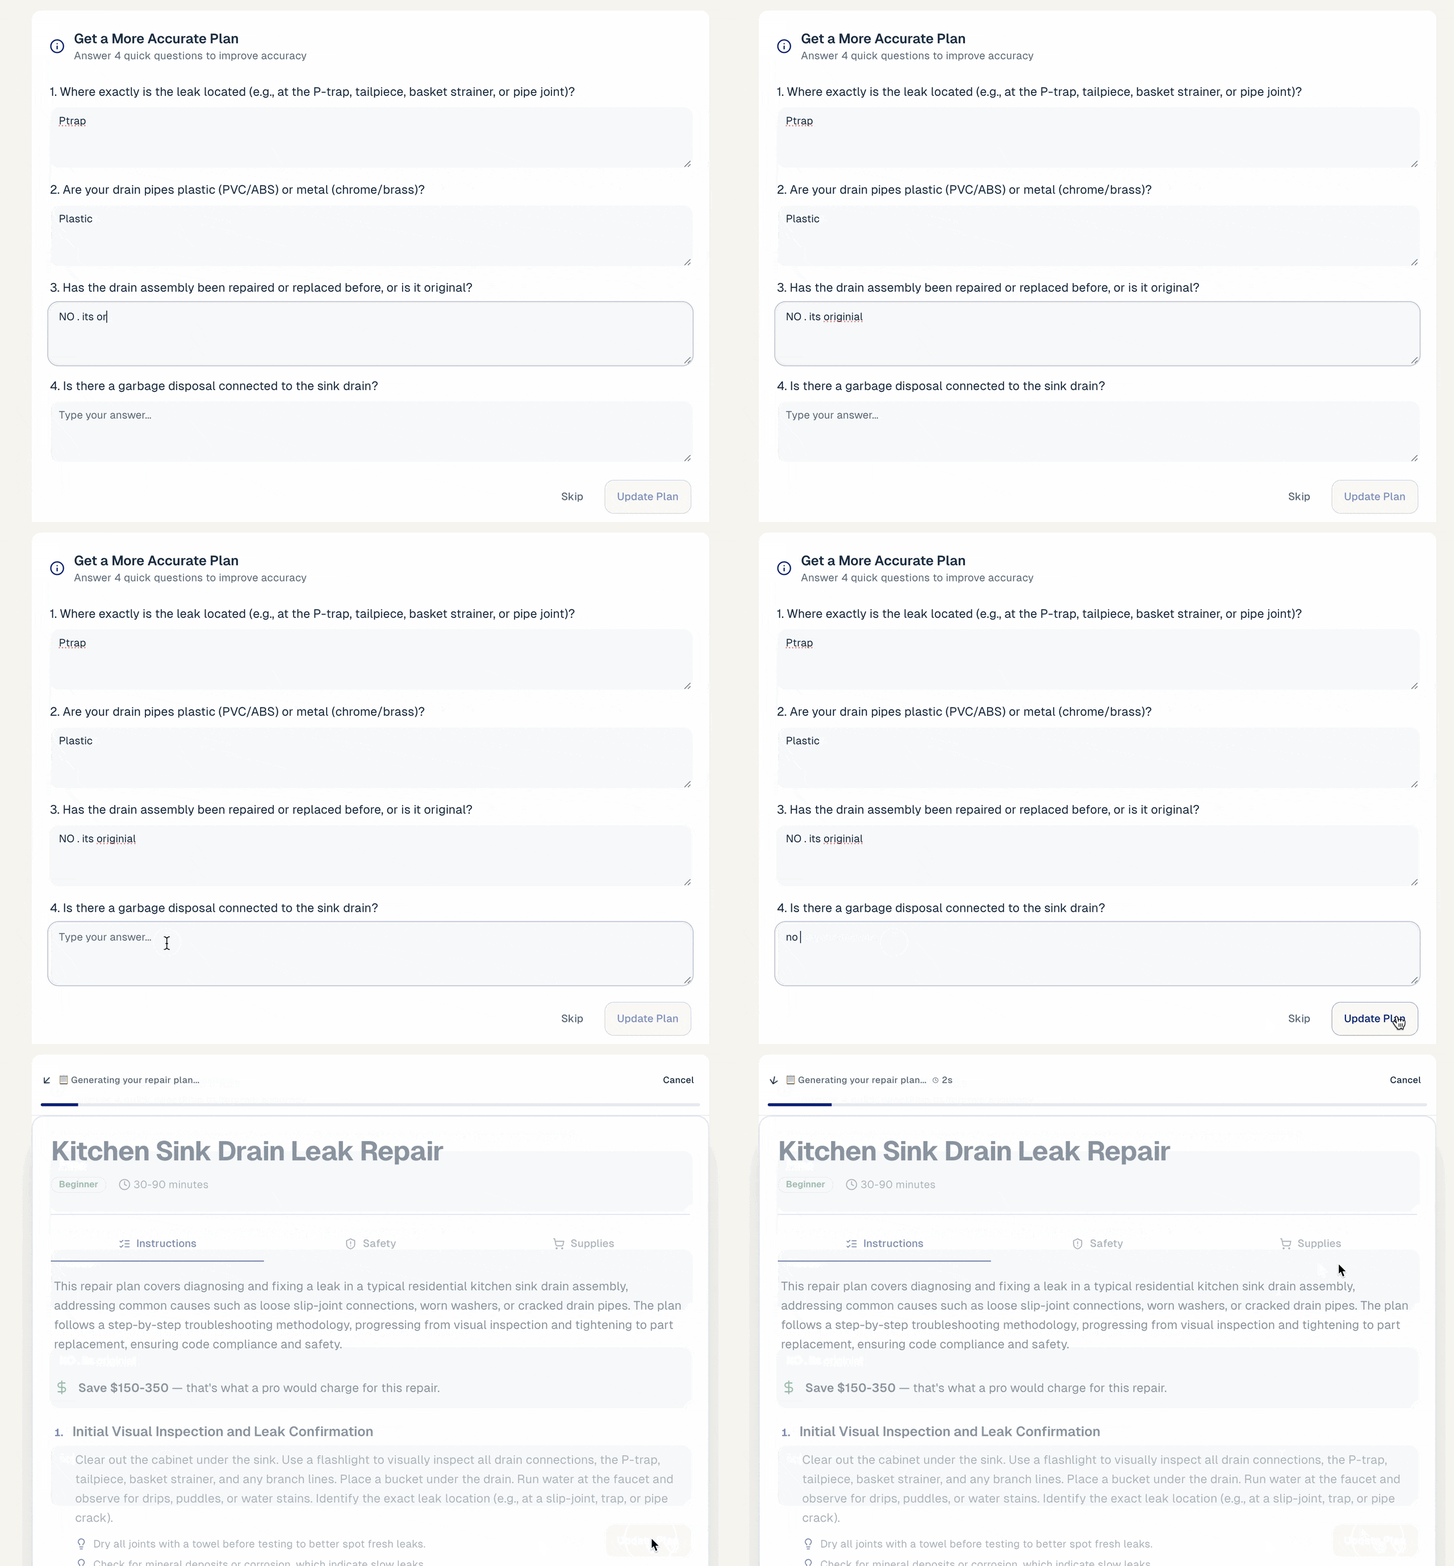
Clarifying Questions
OPTIONAL - Answer a few quick questions to get a more accurate repair plan.
Step-by-Step Instructions
These start with basic troubleshooting and then go through the entire repair process. You will receive tips and warnings along the way.
Safety
Know critical safety warnings, protective equipment, and code information before you begin.
Supplies
Complete and detailed supply lists with links to purchase at your favorite retailers.
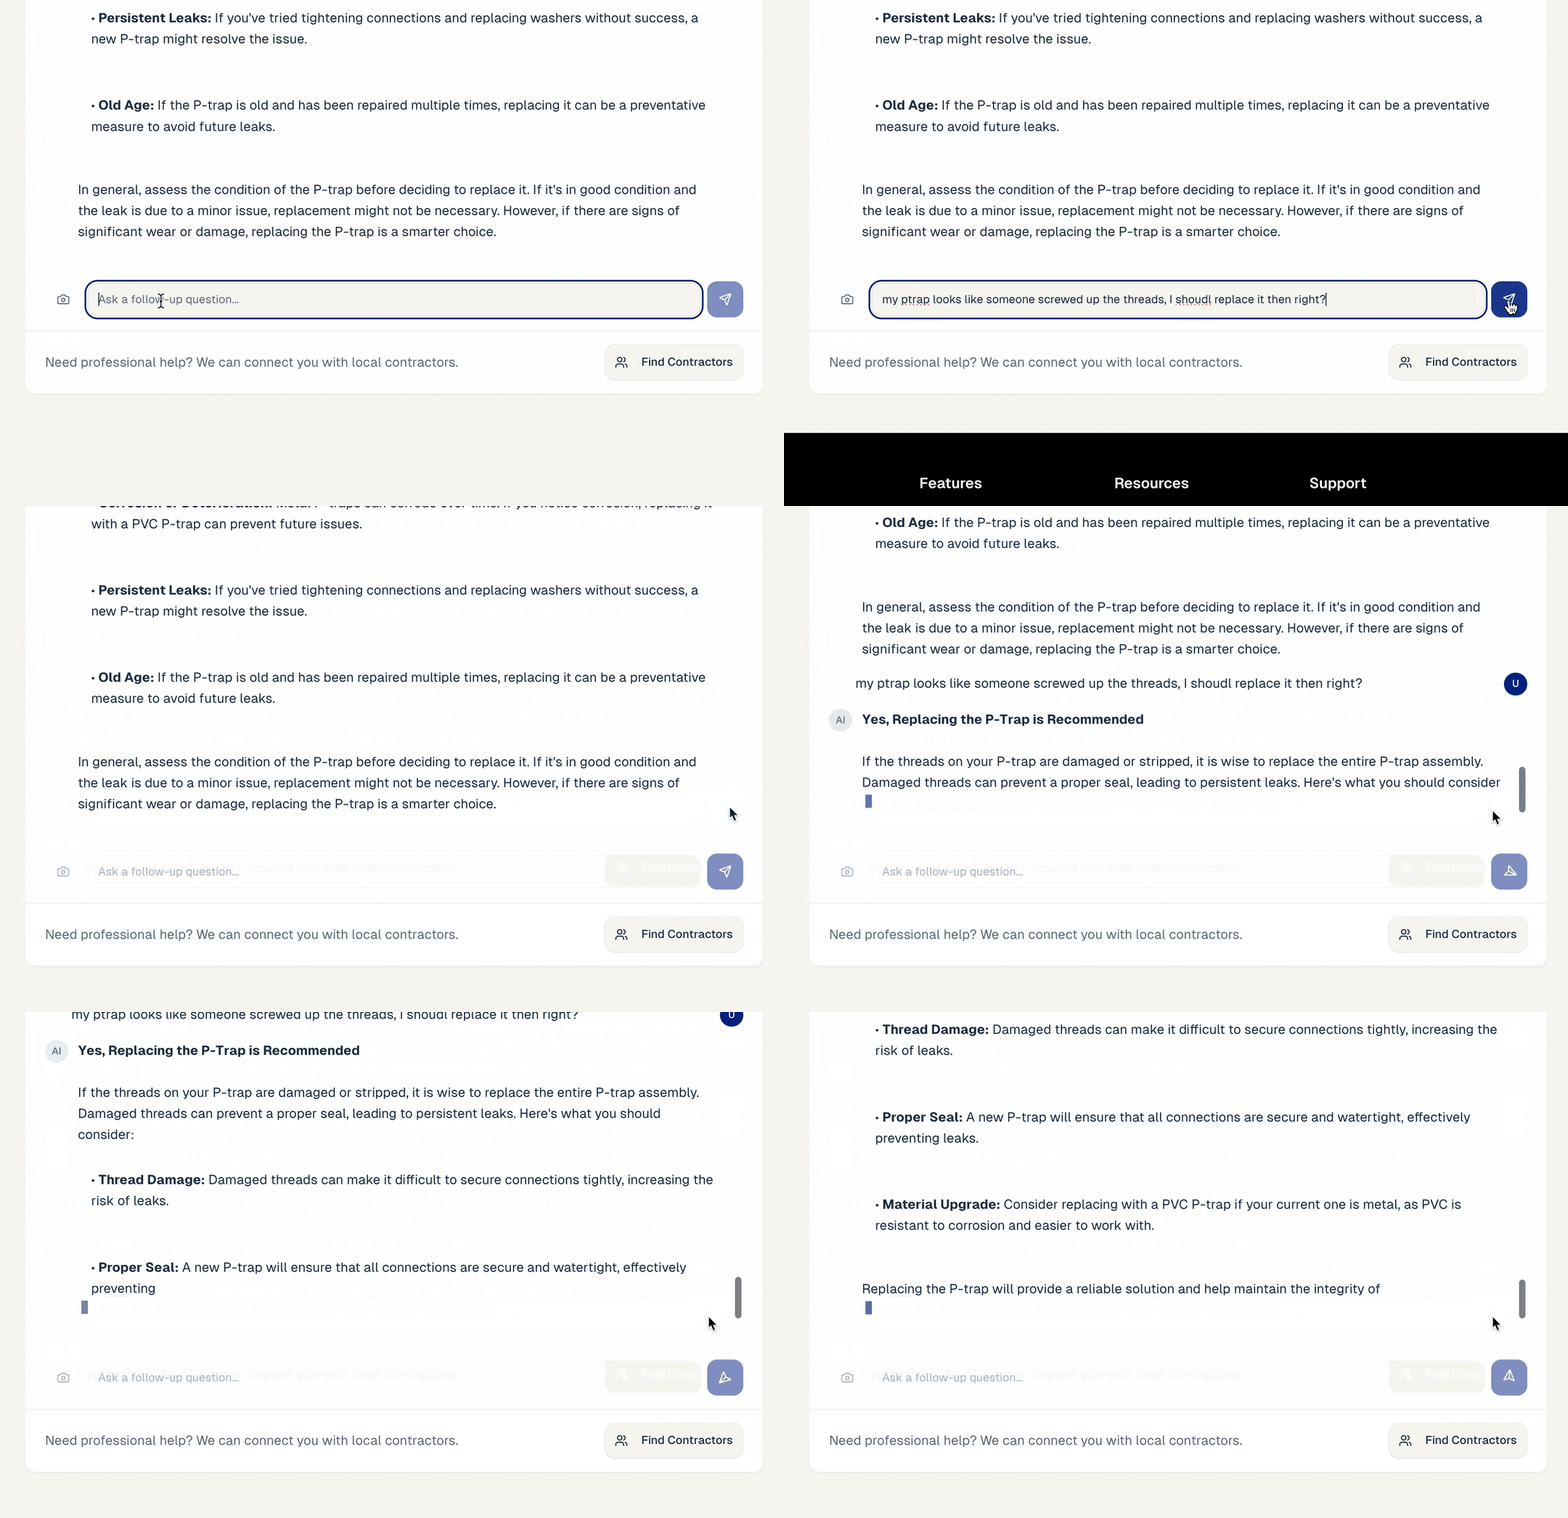
Ask Follow-Up Questions
Use this window for clarification and alternative approach questions. Or if you need professional help, just click the Find Contractors button.
30-day money-back guarantee
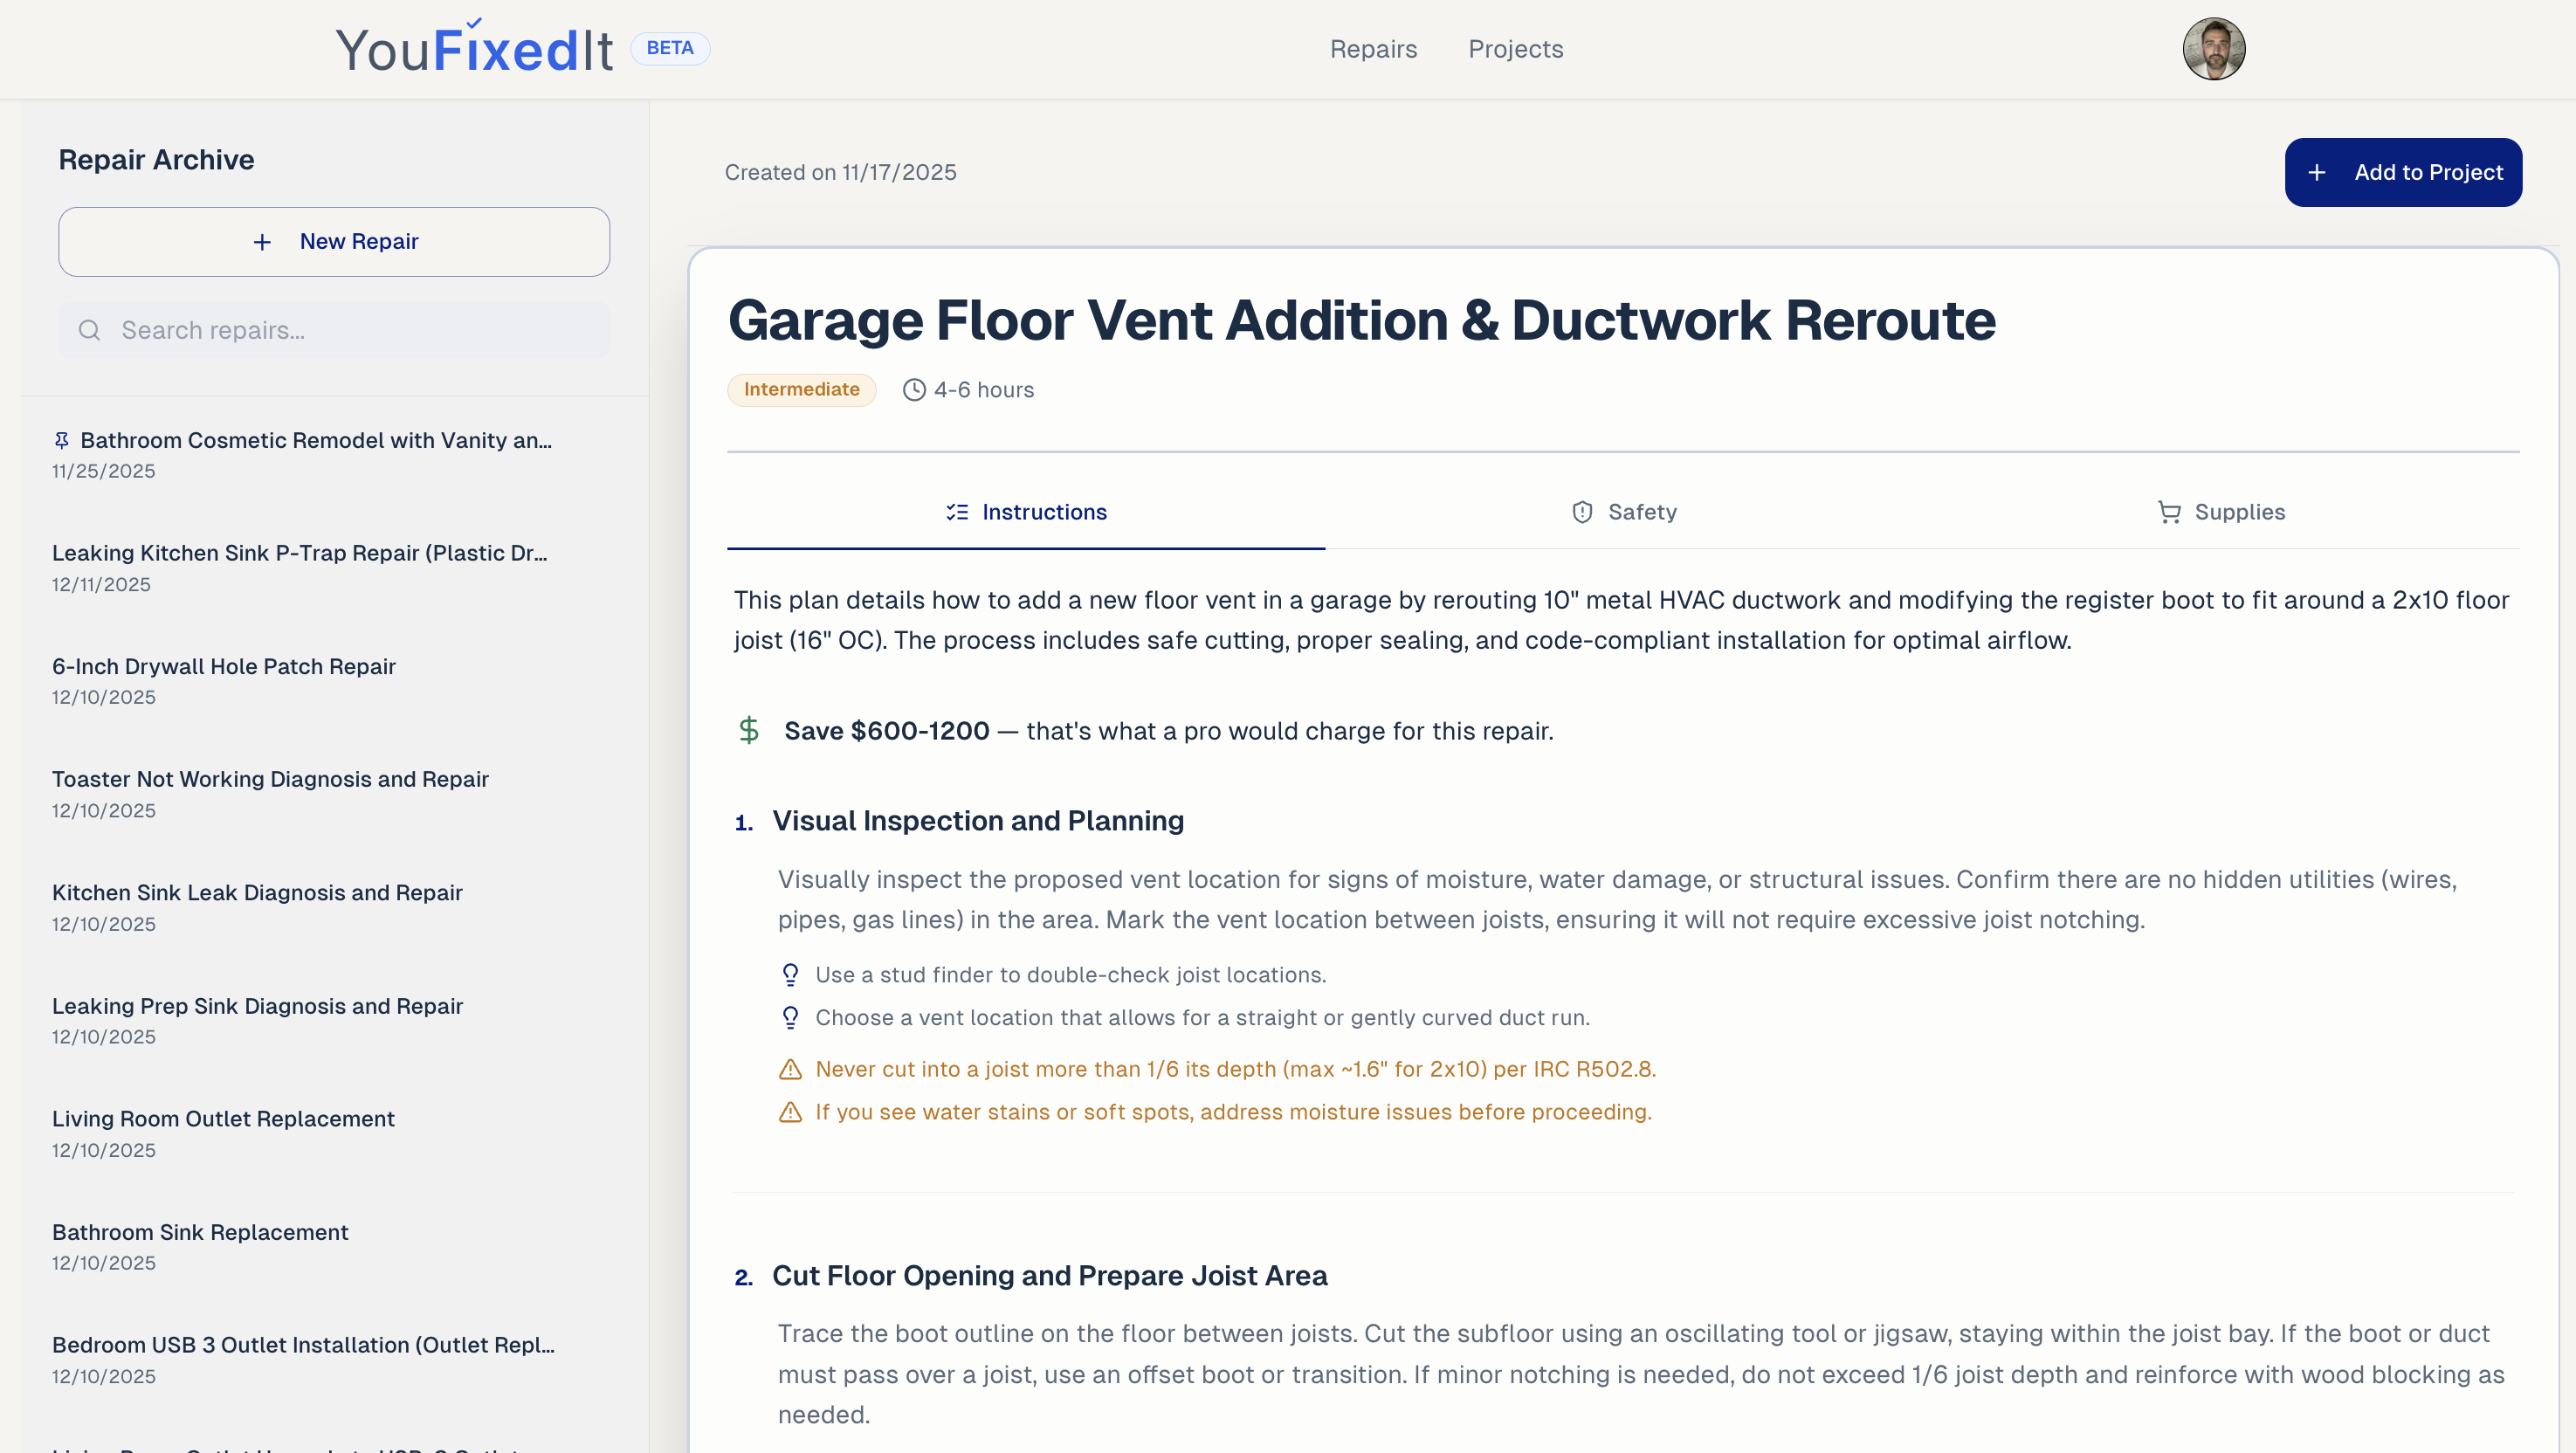
Repairs
Access complete repair plans for all your repairs in the archive. Begin a new repair any time.
Projects
Add any repair to a project. The Projects tab is perfect for managing more complicated jobs (EX. Kitchen Remodel) and organizing your in-process and completed projects. Each project can accommodate multiple repair plans, notes, and project photos.
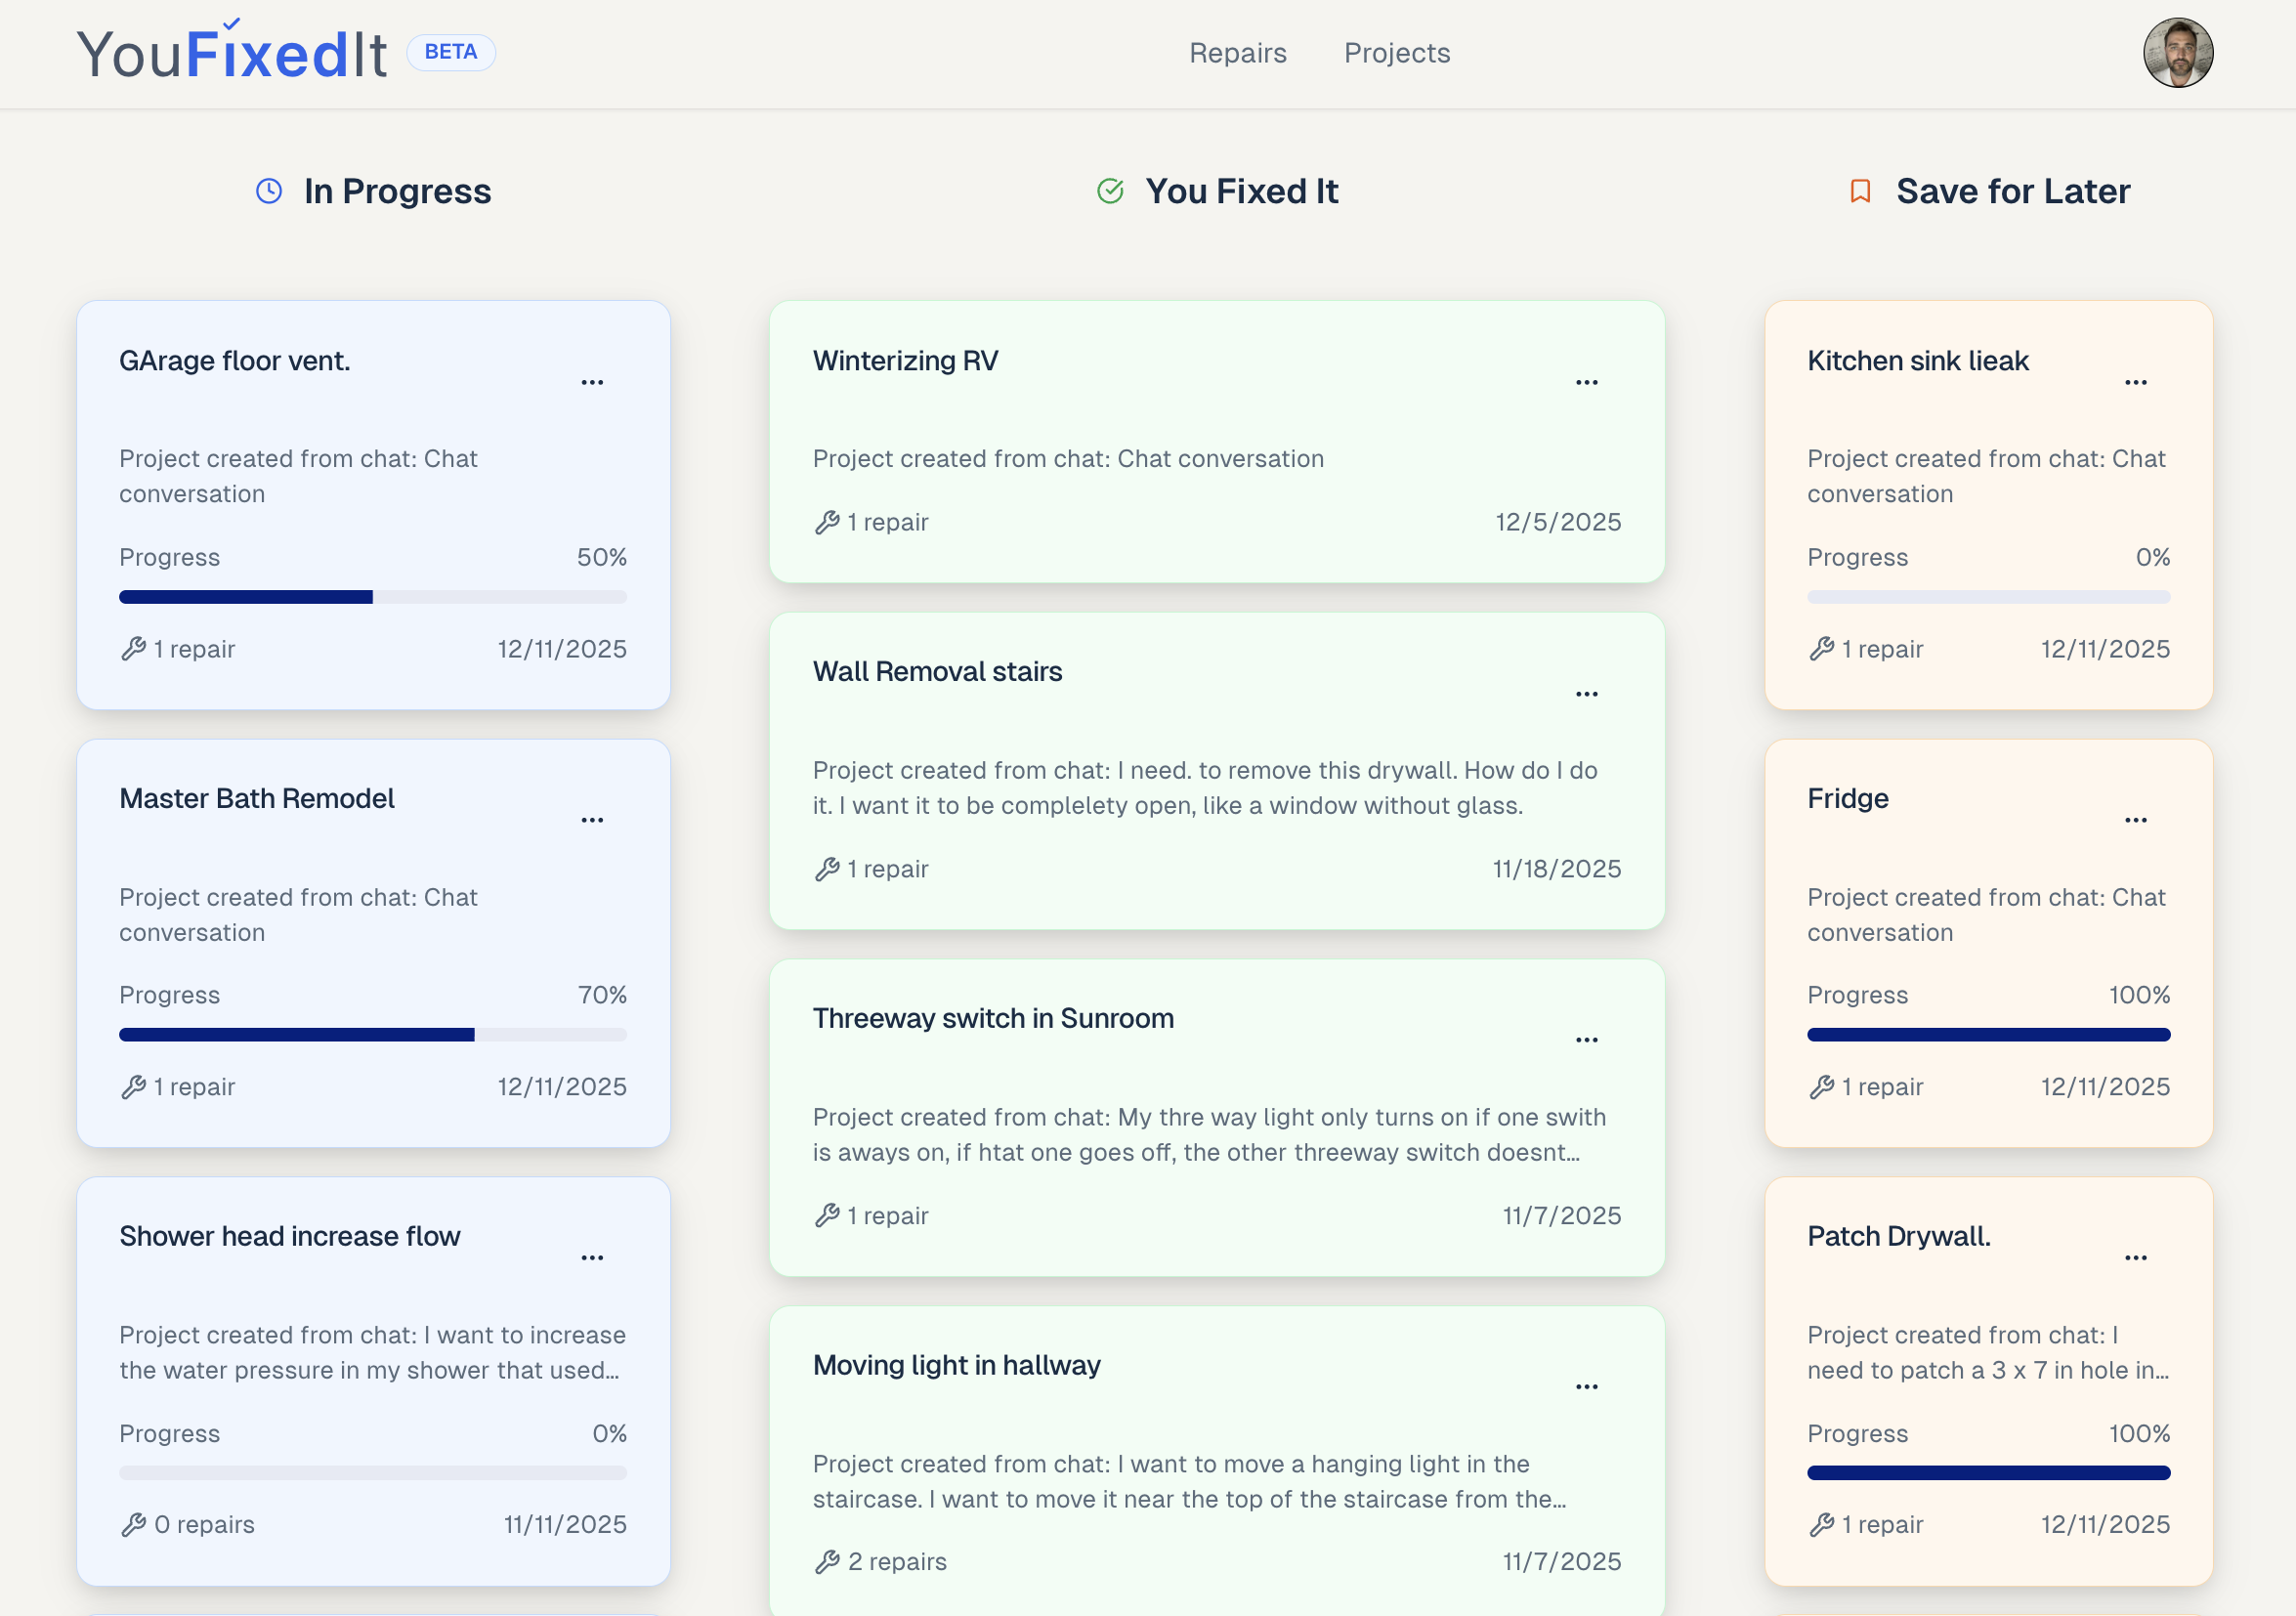
30-day money-back guarantee

Why I Built This
Because doing it yourself and hearing "you fixed it" never gets old
I'm Colin. I've built 26 art studios, fully remodeled two houses, and logged thousands of hours of electrical work.
Getting stuck mid-project sucks. Especially when you're not sure if you bought the right part, or if what you're about to do is actually safe.
I built You Fixed It so you never have to guess. You get professional repair plans with exact materials, safety warnings, and code requirement advice, whether you're replacing an outlet or remodeling your entire kitchen.
— Colin Matthes
Founder, You Fixed It
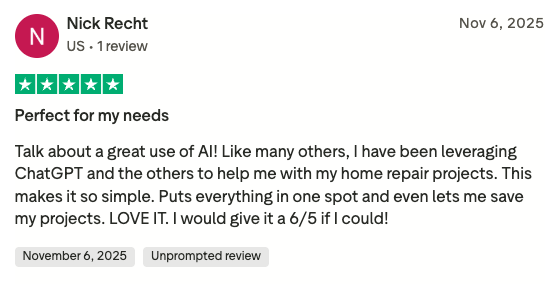
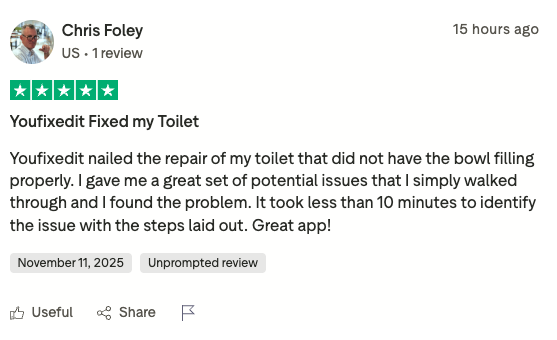
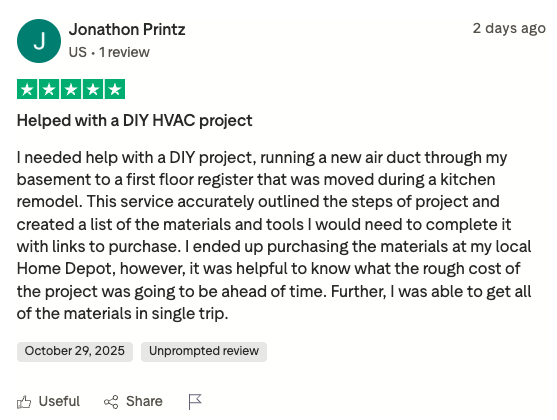
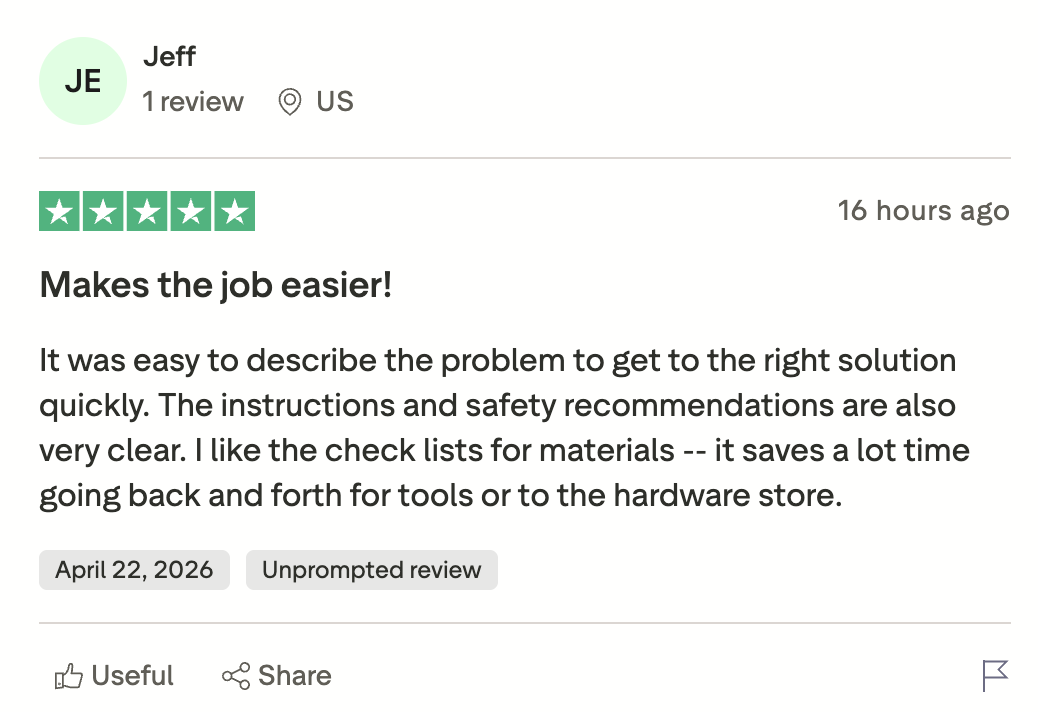
What Users Are Saying
Frequently Asked Questions
Everything you need to know about getting professional repair plans
Try one repair free—no signup required. If you want unlimited repairs, start your 14-day free trial.